I love to make new wood look old. It's very rewarding, not so difficult and a great way to get out some of your frustrations!
Gene and I tiled 2 of our kitchen walls and I had the idea to band the top of those walls with an old faux beam. He picked up some pine and I got banging!
Supplies: chisel, screwdrivers, hammer, chain, screw, nail, BBQ lighter or blow torch, wood stain and rag
1. Gather your supplies
2. Chisel out some chunks of wood. Small and large. You can do this along the edge, in the middle or both. Space it out.
3. I used a heavy chain and just banged it onto the wood. You can also create this effect with a hammer.
4. I wanted to create a Woodworm effect. I did this by lightly hammering in the tip of a screw (or nail) to create holes.
5. To create a more realistic Woodworm effect, I grouped the holes.
6. Using the edge of a flat head screwdriver, scrape the wood in an up and down motion. Try doing this against the grain.
7. This effect was created with a Phillips head screwdriver.
8. With a blow torch or BBQ lighter, lightly burn some of the areas of the wood. This will add a nice dark color to certain spots. Don't overdo it.
9. Once you've finished banging up your wood, it's time to stain. I applied Minwax Walnut stain with a soft rag. Let it dry before hanging.
Once the stain is applied, all the marks are revealed. I'm very happy with the results.
Tuesday, August 4, 2015
Tuesday, July 7, 2015
How to Paint a Staircase Black & White - Before and After Staircase
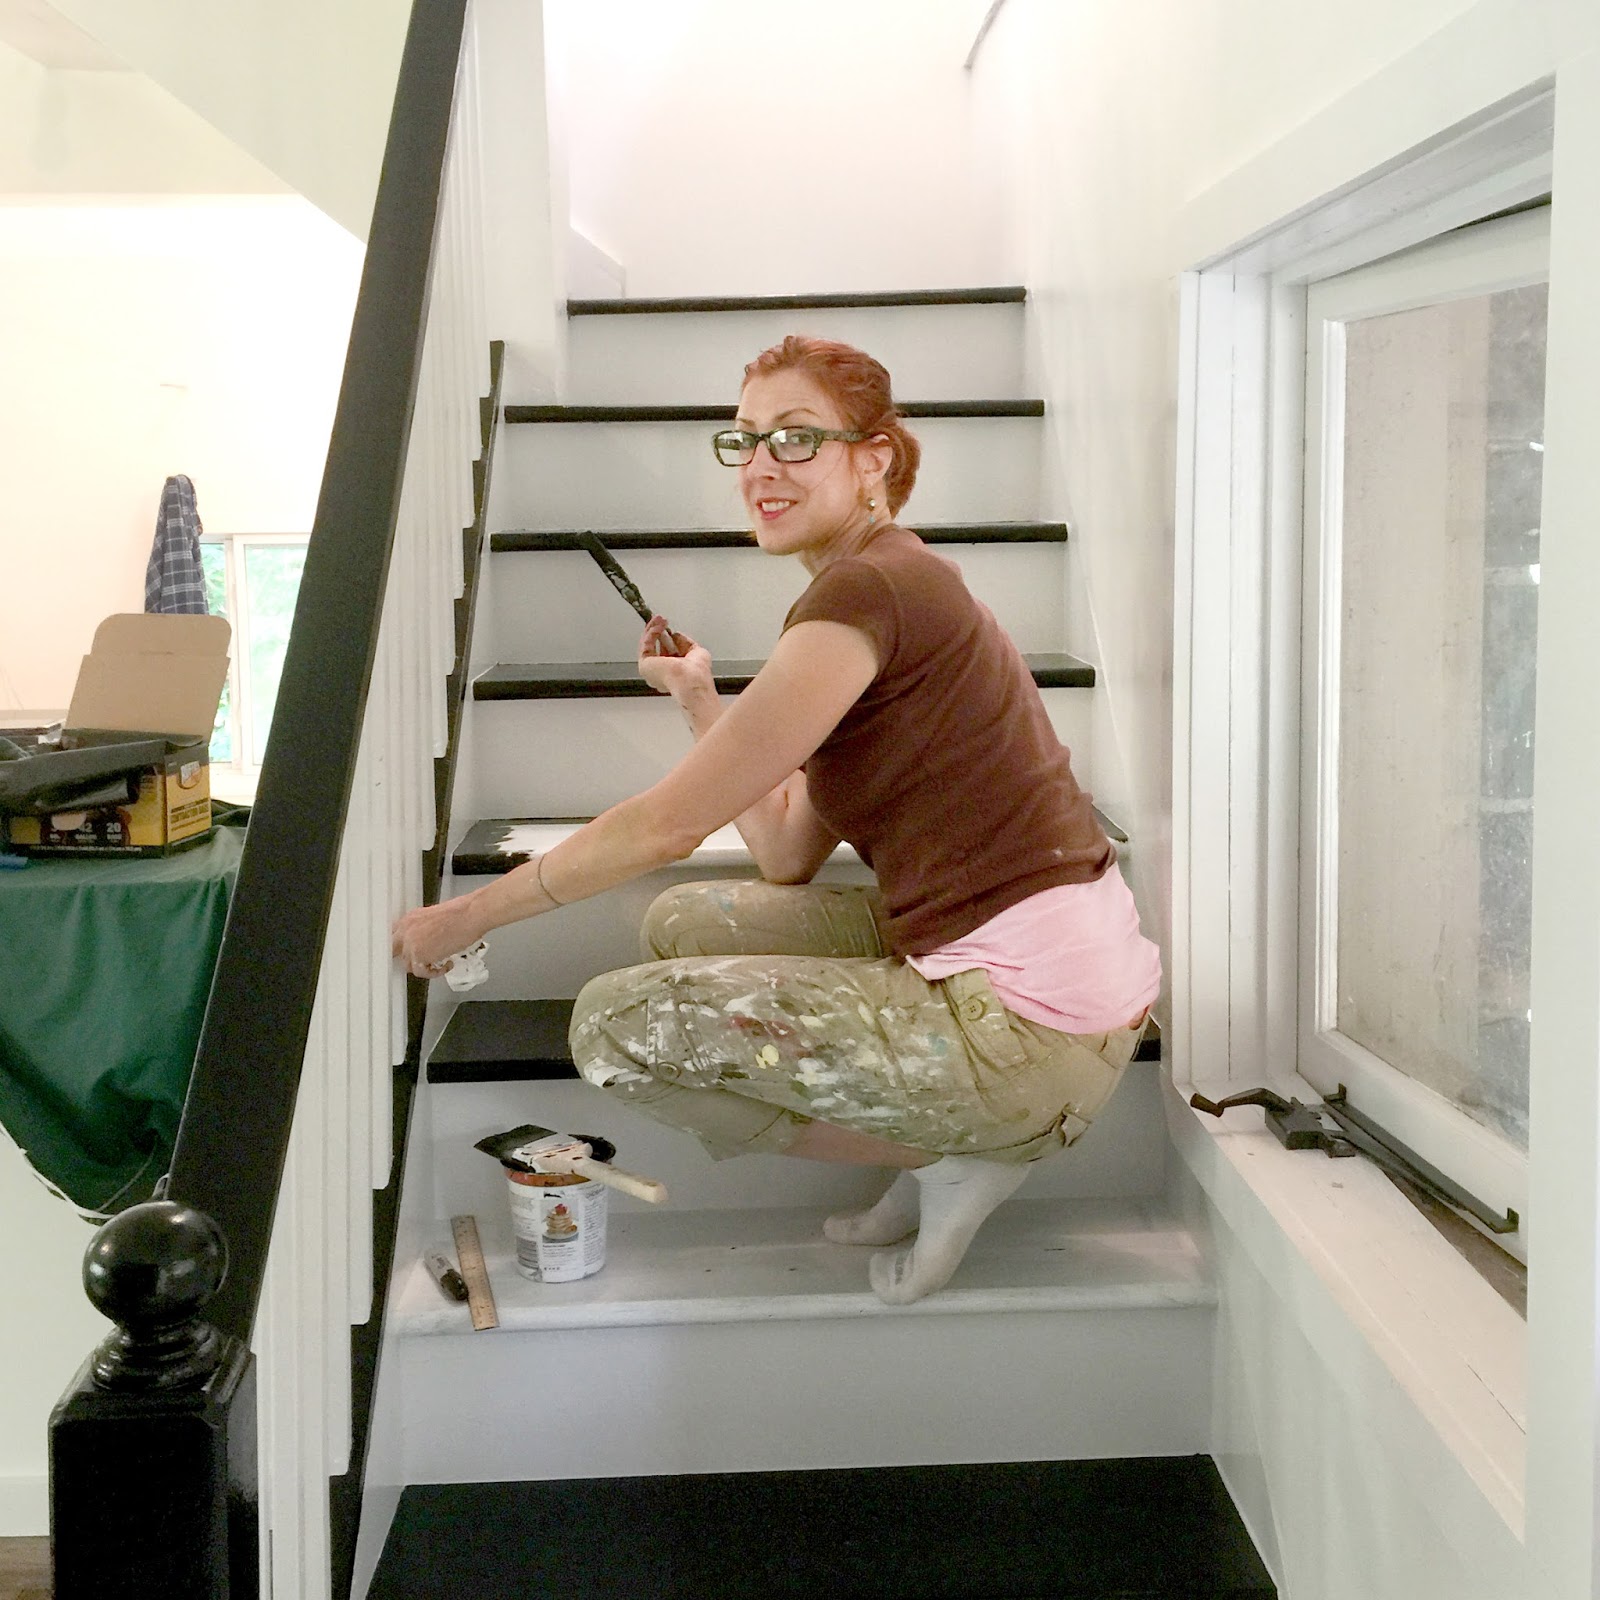
This was a big project, but so rewarding. My stairs were gray and damaged - I knew I had to do something with them! They weren't in the best condition to strip, so I decided to paint them.
Prep your stairs by sanding them with 100 grit sandpaper. Depending on the condition of your staircase, you may need a finer or rougher grit.
I needed to repair some areas of the steps. There was a huge gap, so I filled it with caulk saver, mixed up some Bondo, spread it on with a scraper, let dry and then sanded it smooth and level.
Prime the steps, risers and railing. Let dry completely.
I used Valspar Latex Porch & Floor Paint I purchased at Lowe's in black and white.
I painted each riser white, then moved on to painting every other step black. This is very helpful if you have to use your staircase during your project. You'll get some great exercise if you have to go upstairs!
Here's a tip. If you're painting your steps black, use a black Sharpie Permanent Marker to create a straight edge and paint to that edge. Yes, you could tape it off, but I don't have the patience for that. Paint all edges first, then fill in the center of each step.
Now go back and paint the other steps. I used two coats of each color.
My stairway to heaven...
Here's a great article for you! How to create the staircase of your dreams.
Thursday, June 18, 2015
How to Make Decorative 3d Paper Stars
This is a perfect craft for your Fourth of July festivities! They'll brighten up any party.
-->
1.
Gather your supplies: Decorative paper in 6 inch
squares, scissor, pencil and glue. Optional: string
2.
• With decorative side of paper facing up, fold
in half, turn, and then fold in half again
• Turn over
• Fold into triangle, open up, fold the
other side into a triangle and open up
• Now, tuck the scored folds into a 4
pointed star. This can take a bit of skill, but you’ll get there!
3.
Turn over and mark 1 ¼” from the straight side
edge into center. Do this on all 4 sides, then cut up to that dot on all four
sides.
4.
Fold flaps into center
5. Place
a bit of glue on one side of each flap
6.
Fold flaps over to adhere. Do this to both
stars.
7-8. OPTIONAL. If you want to hang your star, place a piece
of string on one of the flaps before folding over.
9. Now place some glue on the back of one star
10. Glue the other star to it, holding it in place for a bit.
Labels:
3D paper stars DIY,
DIY paper stars
Subscribe to:
Posts (Atom)