Thursday, June 27, 2019

Easy Reupholstered Cushion DIY

 Summer is here and it’s time for a refresh of the back deck of our Airbnb.

I purchased these chairs which came with the beige cushions...hmm, I thought to myself, “This sitting area needs more pizazz and color, plus the fabric it came with was rather flimsy and got dirty fast.


I obviously needed a durable, outdoor fabric and something that can withstand the sun. I found this pretty Ottertax canvas from FabricWholesaleDirect.com. (Don’t let the name of the company fool you, you don’t have to be a huge corporation to buy from them, you can be a weekend crafter like me.)

They had so many fun, vibrant designs to choose from that I had a difficult time picking. But, being that I’m in Woodstock, NY, I thought this floral pattern was perfect...kinda goes with the feel and funkiness of the area and it surely will brighten up that back porch.


This canvas is perfect for outdoor and indoor projects. It features a plastic PVC backing and waterproof coating, making it extremely durable and resilient.

My sewing skills are limited and I didn’t want to spend an entire weekend making cushions with individual panels. So, I decided to wrap the cushion like a present...well, it is kind of a gift to the porch. :)

I removed the old covers and placed the cushion on the fabric, with Cocoa's help, making sure I had enough to cover the front, back and sides...just like wrapping a gift. I folded the fabric over the front of the cushion to the back and then wrapped the sides like a present. I made sure to have enough fabric in the back of the cushion to seal it. I folded the edges of the two side panels under, pinned it in place and removed it from the cushion. I was a little worried that my sewing machine might not be able to handle the fabric, but it easily did. Whew!

Once I had the two sides sewn, how am I going to close it? I’m not very good at zippers so I decided to seal it with very strong velcro...easy!


With some added plants and two bright green pillows, I just love how my deck looks now! Thank you FabricWholesaleDirect.com!

Friday, December 28, 2018

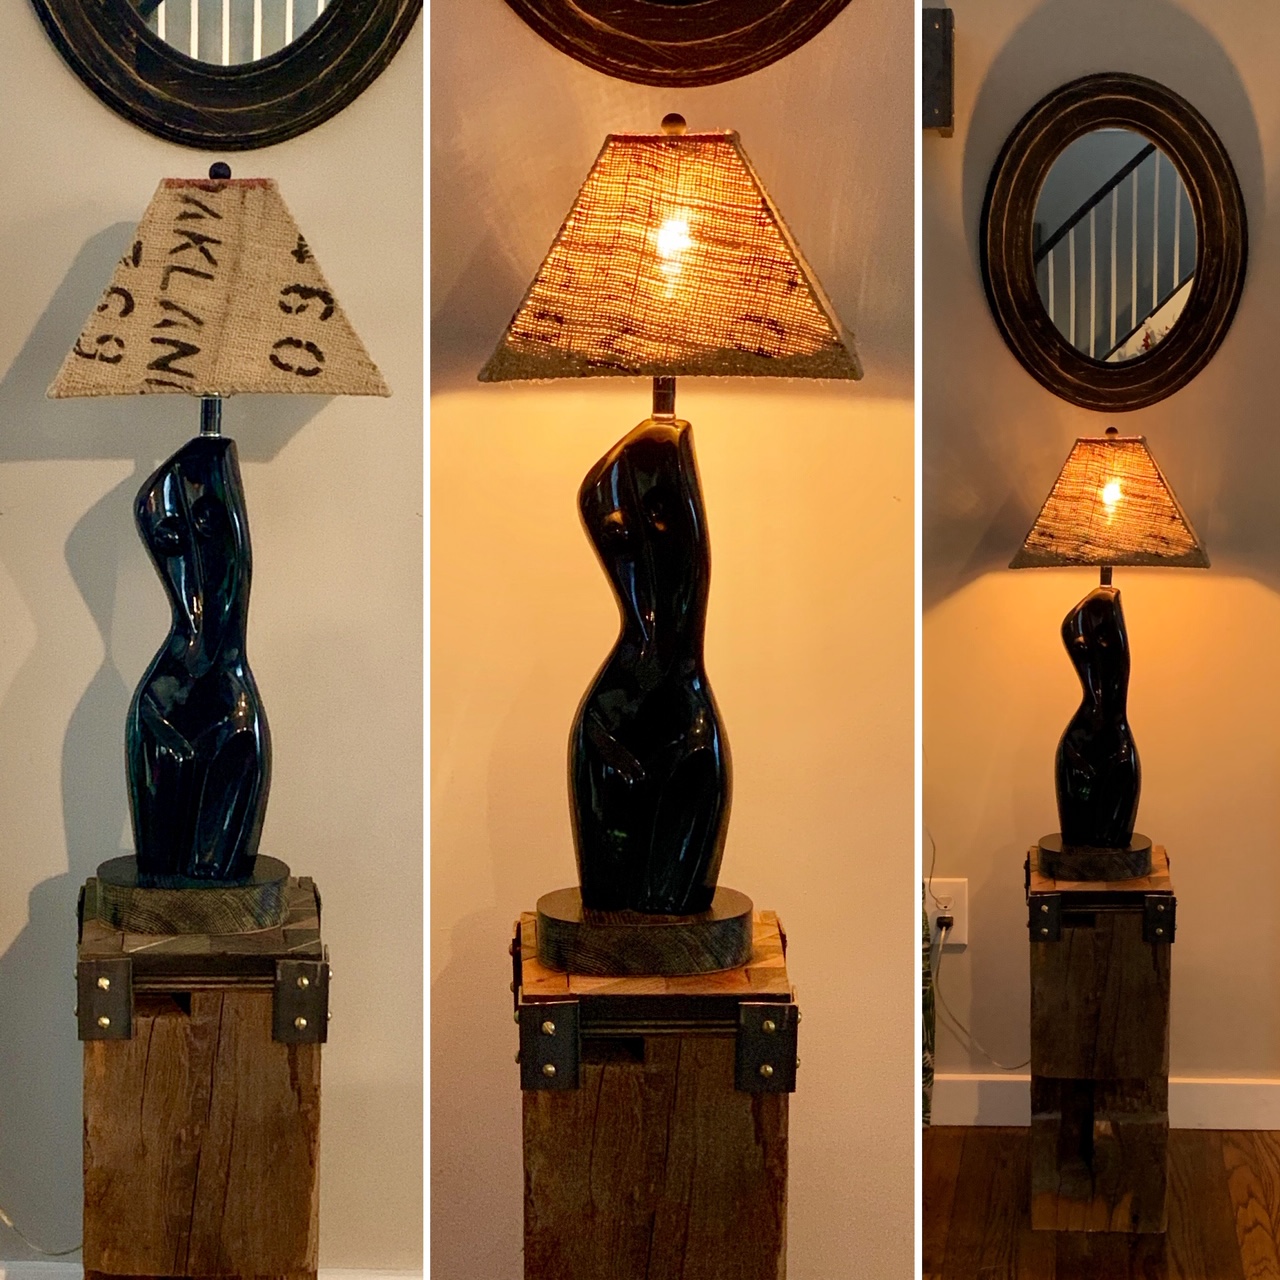
Burlap Lampshade DIY - Facci Designs

I just love the look of a burlap coffee sack lampshade. It's a type of fabric I think can go with just about anything and it's not very expensive to make.

I ordered a lampshade frame from www.lampshade.com. You can get burlap bags online. Here's one place. http://burlapfabric.com


I wrapped newspaper around the frame to make a pattern. Then I laid that pattern onto the fabric. I cut it about an inch larger all around and then pinned it onto the frame.

The burlap bag is sewn together on the sides with a thicker burlap string. I took it apart and used that string to sew the fabric to the lampshade frame. I folded the bottom and top pieces of fabric under and stitched that as well.

Light on!


Saturday, December 8, 2018

Marzipan Candy Picture Frames DIY

Marzipan holds a special place in my heart. My mom is from Stuttgart Germany and as kids we would receive a package from her aunt every Christmas. Marzipan and Gummi bears, advent calendars, chocolate ornaments wrapped in foil and more would be nestled in a pretty box. We were so excited to open the package!


I wanted to make some marzipan candies this year for Christmas. But of course, I wanted to do something different. The internet is filled with mini marzipan fruit DIY's, but couldn't find much else.

I always assumed almond paste was marzipan...but no! Almond paste is used to make marzipan. You can purchase already made marzipan in a tube or make your own.

I decided to make my own marzipan. It's so simple, it's just a combo of almond paste, powdered sugar and corn syrup. (You can find a ton of recipes online.) If you want to die your marzipan with food coloring, do this right before you are ready to make your candy. I found a pretty frame mold, brushed it with cornstarch and pressed the marzipan into the mold. While it was still moist, I trimmed it with an exacto blade. Let the candies dry at least 24 hours before you decorate. If you're going to add some sugar pearls, do this before they dry. Once dry, I dipped some in chocolate, highlighted them with food coloring, brushed some with edible lustre dust and inserted an edible image inside the frame...so the entire frame is edible! (Find a bakery that has an edible image printer and ask them to print your images for you). I also used marzipan pieces to help the frames stand up. I "glued" them on with royal icing.